MTN MiFi Device Setup: Easy Step-by-Step Guide 2025

Setting up your MTN MiFi device in 2025 guarantees fast, reliable internet connectivity. This MTN MiFi device setup guide will walk you through each step to get your device up and running quickly. Follow these instructions carefully, and you’ll be ready to enjoy seamless browsing in no time.
1. Unbox and Assemble Your Device
Before diving into the setup process, make sure you have everything needed to start:
- Check the Contents: Ensure that your MiFi device package includes the MiFi device, battery, USB cable, SIM card, and the instruction manual.
- Assemble the Device: Insert the battery into the MiFi device and securely close the battery cover.
2. Insert the SIM Card
Now that your device is assembled, it’s time to insert the MTN SIM card:
- Locate the SIM Card Slot: The SIM card slot is usually located under the battery.
- Insert the SIM Card: Place the MTN SIM card in the slot, making sure it’s oriented correctly to avoid connection issues.
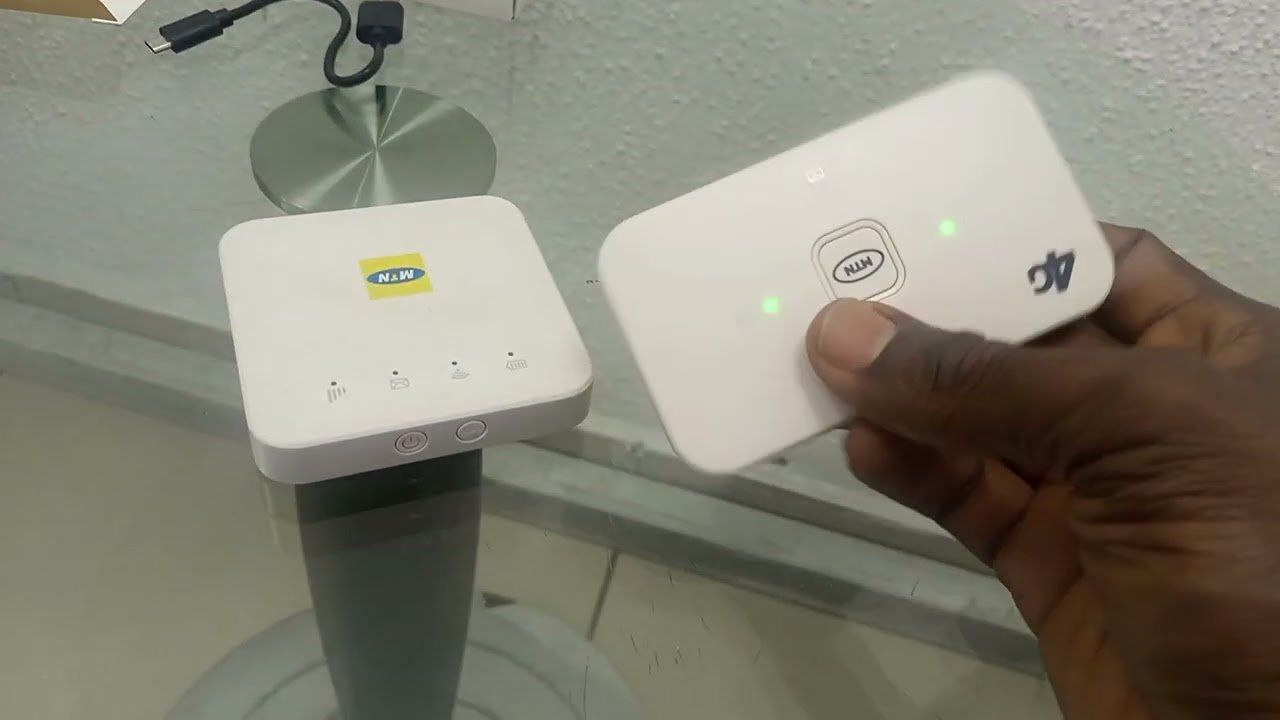
3. Power On the MiFi Device
To activate the device, follow these steps:
- Press and Hold the Power Button: Press and hold the power button until the device powers on.
- Wait for the Indicators: Wait for the signal strength and other LED indicators to stabilize, which indicates that the device is ready for use.
4. Connect to the MiFi Network
Once your MiFi device is powered on, connect your laptop, smartphone, or tablet to it:
- Wi-Fi Settings: Open the Wi-Fi settings on your device.
- Select the Network: Look for your MiFi’s default network name (SSID) and select it.
- Enter the Password: Use the default Wi-Fi password provided with your device to connect to the network.
5. Access the MiFi Web Interface for Configuration
For advanced settings and to customize your device, access the MiFi web interface:
- Open a Browser: Launch a web browser on your connected device.
- Enter the IP Address: Type
http://192.168.1.1into the address bar and press Enter. - Login: Use the default admin credentials (typically “admin” for both the username and password) to access the MiFi settings.
6. Configure MiFi Settings
Now, let’s customize your MiFi device to suit your needs:
- Change Passwords: For security, change both the admin password and the Wi-Fi password.
- Set Up Data Plans: Review the available MTN data plans through the MiFi settings and subscribe to the plan that fits your needs.
- Advanced Settings: Modify advanced settings, like APN, static IP, or DNS, if needed.
7. Update the Firmware (If Applicable)
It’s important to keep your MiFi device updated for the best performance:
- Check Firmware Version: Navigate to the firmware section in the web interface.
- Update: If an update is available, follow the prompts to update your device’s firmware.
8. Secure Your Network
Protect your network from unauthorized access by following these steps:
- Enable Encryption: Ensure that WPA2 or WPA3 encryption is enabled for maximum security.
- Disable WPS: Turn off Wi-Fi Protected Setup (WPS) to prevent vulnerabilities.
9. Monitor Data Usage
Tracking your data usage helps prevent unexpected charges:
- View Usage Stats: Regularly check your data consumption via the MiFi web interface.
- Set Alerts: Configure data usage alerts so you can stay within your plan’s limits.
10. Troubleshooting Tips
In case of any issues, try these troubleshooting steps:
- No Connection: Double-check that your SIM card is active and that your data plan is valid.
- Weak Signal: If the signal is weak, move the MiFi device to a different location for better reception.
- Forgotten Password: Use the device’s reset function to restore the default settings and set a new password.
Wrap-Up MTN Mifi Device Setup
By following this MTN MiFi device setup guide, you can quickly and efficiently set up your MTN MiFi device in 2025.
Whether you’re setting up your device for the first time or managing an existing one, these steps will ensure a smooth setup and an optimal internet experience.
Article updated 5 months ago ago. Content is written and modified by multiple authors.
Leave a Reply
Previous Post